Optimal Variometer
Home
Youtube-Channel
About
Shop
Quite often I fly gliders which have variometers that doesn't work or they work badly. How often do you see a motor airplane flying around with a engine that just run on half it's cylinders? Never, because it's obvious that it's needed to stay in the air. The same is true for the variometer in gliders, it's our indication of energy and it needs to work as good as possible. To say 'Good glider pilots don't need a variometer' is just simply not true, it's the most important instrument after the air speed indicator in a glider.
More over it's especially important that school/training gliders have perfect variometers as the student will look at the variometer and connect the feeling in the seat with climb. If the variometer is not working this very important part of learning what a thermal feels like will be wrong.
Guide To The Optimal Variometer
Step 1: Installation
No variometer will work well if not installed correctly. Make sure all tubes and connections are air tight without restricting bends or bugs/debris inside. Also try to keep tubes as short as possible to reduce lag.
Step 2A: Mechanical Variometers
A mechanical variometer usually needs an expansion bottle. The tube between the bottle and the variometer should be as short as possible. Try to keep this distance less than 30cm. The longer the tube the more exaggerated the indication will be. For every meter of tube the indication will be exaggerated by roughly 10%.
On the ground the needle should point exactly at zero. If it doesn't there might be moisture in the pointer or the paint have aged and thus changed weight. Service the instrument if it's off zero.
Make sure the O-ring at the TEC tube is fresh so that it seals properly. Also inspect the tube for bends or other deformation.
Step 2B: Electrical Variometers
Try to use electrical compensation if possible. If it doesn't work well then revert to TEC tube. Avoid using a mechanical variometer on the same pressure lines as the electronic variometer. Due the expansion tube on the mechanical variometer the pressure signal in the tube will be drastically slowed down, limiting the performance of the electronic variometer.
For clubs electronic compensation means less things that can break and no cost for buying in the first place, not needing the TEC probe. For the competition pilot it also means less drag (5mmx10cm 'stick' sticking out into to airflow) and less things to go wrong.
Step 3: Testing
A variometer in a glider needs to be total energy compensated(TEC) to be useful for gliding. This means it will show changes of your total energy altitude rather than change in altitude. Total energy altitude is the altitud you will reach if you pull up vertically and reach zero speed.
To test if the TEC is working properly you first accelerate to a high crusing speed (McCready 3m/s speed for example....on a normal plastic glider this is somewhere around 140-160km/h). Then you do a firm pull up and level off at minimum sink speed (around 85-100km/h). During the pull up the variometer should never show climb. The theoretically correct response is for the variometer to follow the polar curve sink but no variometer that I know of(except my own, see 2026 update at bottom) does this. This test needs to be done in absolute still air to work.
Step 4A: Adjusting Electrical Variometer
Electrical variometers needs to be adjusted when using electrical compensation. First increase the variometer dampening so that it is rather slow. When doing the test above adjust the compensation until you can do the test without it showing climb. If you want to fine tune it you could aim for it to never show more than -0,3m/s during the manoeuvre.
For a variometer to give the most useful information to the pilot it should be steady and never show too much climb/sink. When flying from -1m/s air into 3m/s air the variometer should never show more than 3m/s. You notice that something is wrong when the vario always swing past the correct value just to come back down a second later. Increase the dampening until this behaviour is gone.
Step 4B: Adjusting Mechanical Variometer
Mechanical variometers are trickier since the compensation depends solely on the TEC tube (and of course that there is no leaks). Usually tho the TEC tubes are good enough to pass the test. If it's not passing the test there is usually leaks or the TEC tube have been damaged.
Building The Optimal Variometer System
I've been testing different variometers over the years. Not just flying with them but also built test rigs to compare speed and accuracy in a controlled environment. My findings is that mechanical variometers differ very little in performance, their function will mainly depend on the installation and TEC tube used.
Most electrical variometers have been a disappointment. Until this year I have tested most of the common once and they are worse than any mechanical variometer. Even the once advertised as super accurate with G meters, inertial platform assisted etc are just not as good as a standard mechanical. A lot of competition pilots know this by experience and usually have a mechanical variometer in their panel. The strength with electrical variometers is that they can show accurate average climb.
The issue with most electrical is that they can not be fast and stable at the same time. To make them stable they need to be very slow.
2026 Update:
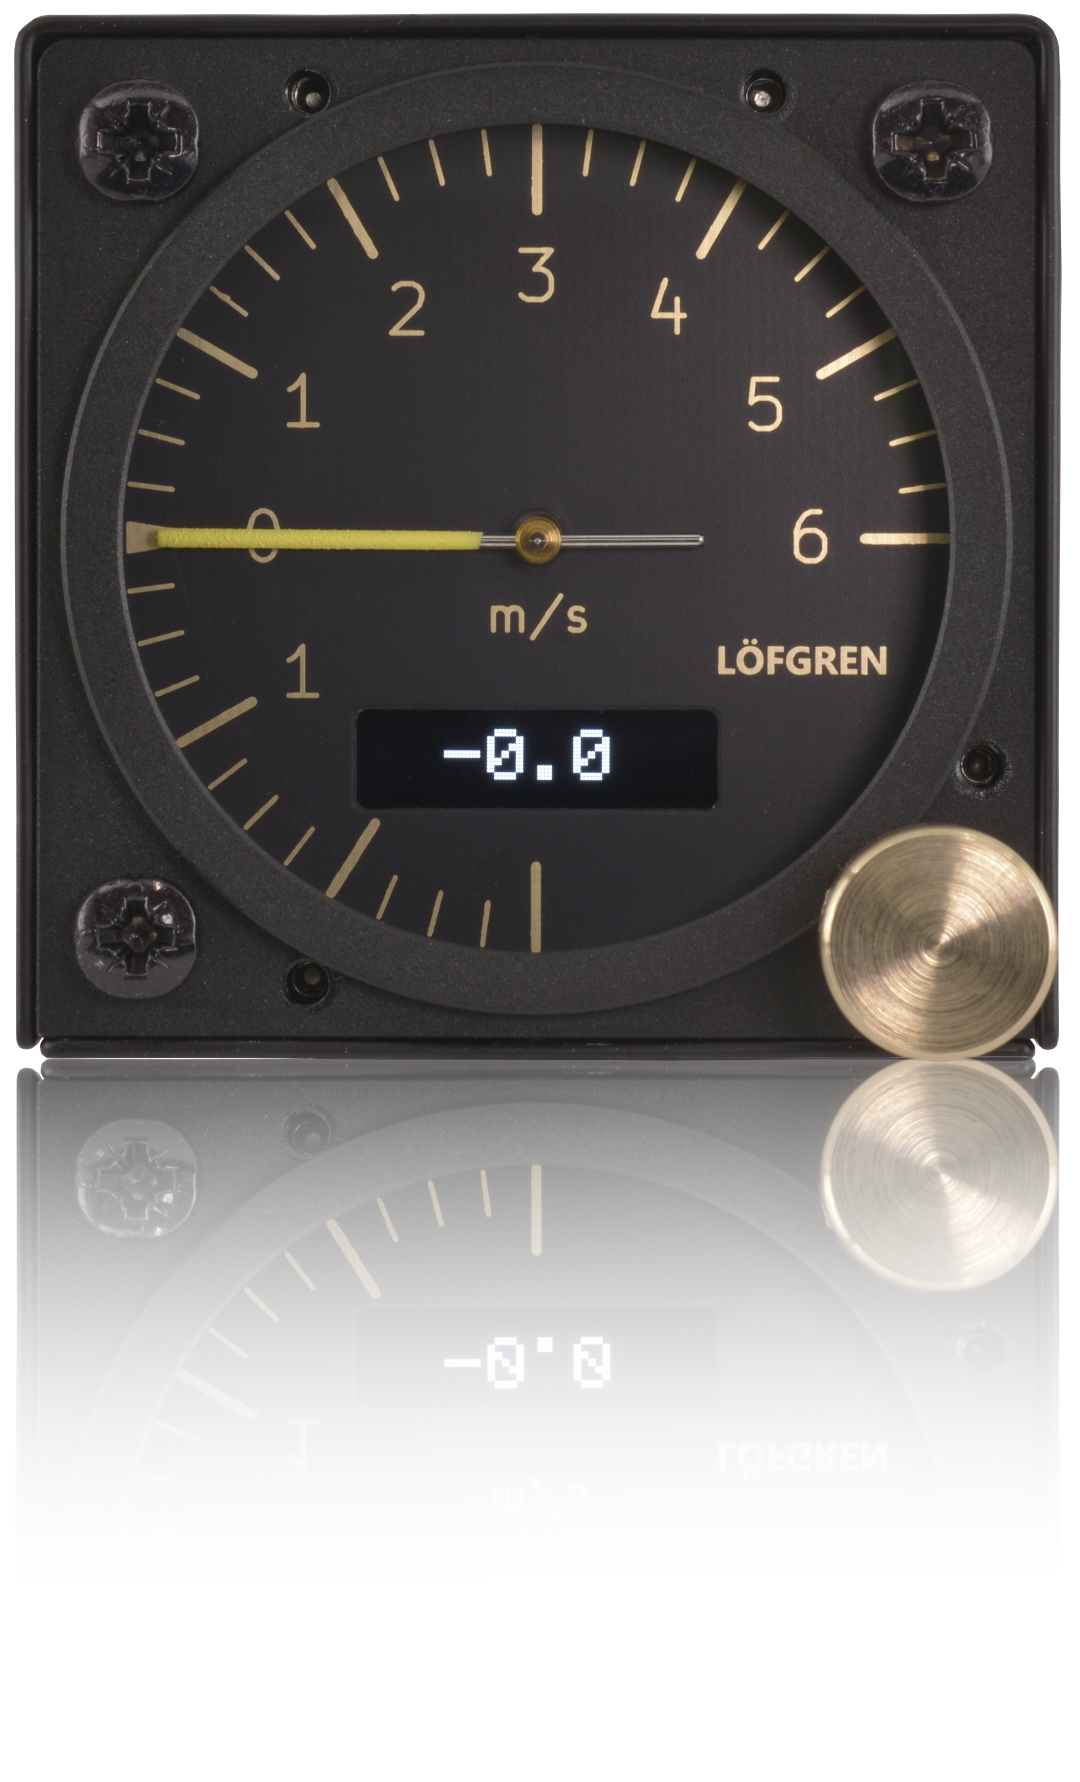
After writing this article in 2018 I have developed my own electronic variometer to solve the issues mentioned. Not only does it have perfect total energy compensation but it is also fast and more stable than a mechanical variometer. And all this using electronic compensation. It was released in January 2025 and is available here: www.lofgren-electronics.fr.
Support me
I build and maintain this site to help you. I do it in my spare time and it's not free.
I DON'T WANT ADVERTISEMENT on this site. Help me to help you:
Buy me a beer!
© 2018 Niklas Löfgren
|